
Not to sound too much like Geoffrey Ballard from the old BBC "Waiting for God" series (he's always going on about shelving and DIY projects in the most boring ways), I nonetheless have embarked on a fairly large DIY project: built-in library shelves and bookcases for our "Library".
When we bought our new home a little over 2 years ago, we had ideas of eventually converting a 4th bedroom into a dedicated library. Being old fashioned curmudgeons, most of our books are actually real dead trees that are collectively heavy and take up a lot of space. "Eventually" really has been eventually, as well over 2 years later, about every one of our 1100 linear feet of books (that's right, I measured) is still in boxes, that were stacked like cordwood in the "Library" too deep to actually get to.
Well, enough was enough, and I finally got motivated to do something about it. After a few quotes from various pros around the $12,000 (?!) mark, I decided that this was well within my skillset to tackle (its a good thing neither Pillion nor I are particularly picky about these things either)
So after taking a goodly set of measurements, ...and taking them again...and taking them again, I made up a materials list and figured if all went well, I could fit the entire room with bookcases for under $1000, using the same specs we gave and were given by the contractors who quoted this work for us. That meant I could rebuild the room 12 times over for the same price as hiring someone, so I figured that gave me plenty of "wriggle room" (say that three times...) to re-do/fix/learn/re-learn aspects of the project and still come out way ahead.
We have no real deadline, its winter and riding weather has become unpredictable, and Pillion and I get a perverse sense of self-satisfaction by doing things ourselves as much as possible. Sounds like a perfect time to get started.
The following pics show the progress over the last two weekends, with a few short evenings after work thrown in:
 |
While I've decided we don't have to move many of the
outlets in the room, I did decide to move this one up to the
blue tape mark. This places the outlet just above the
intended countertop that will go here.
|
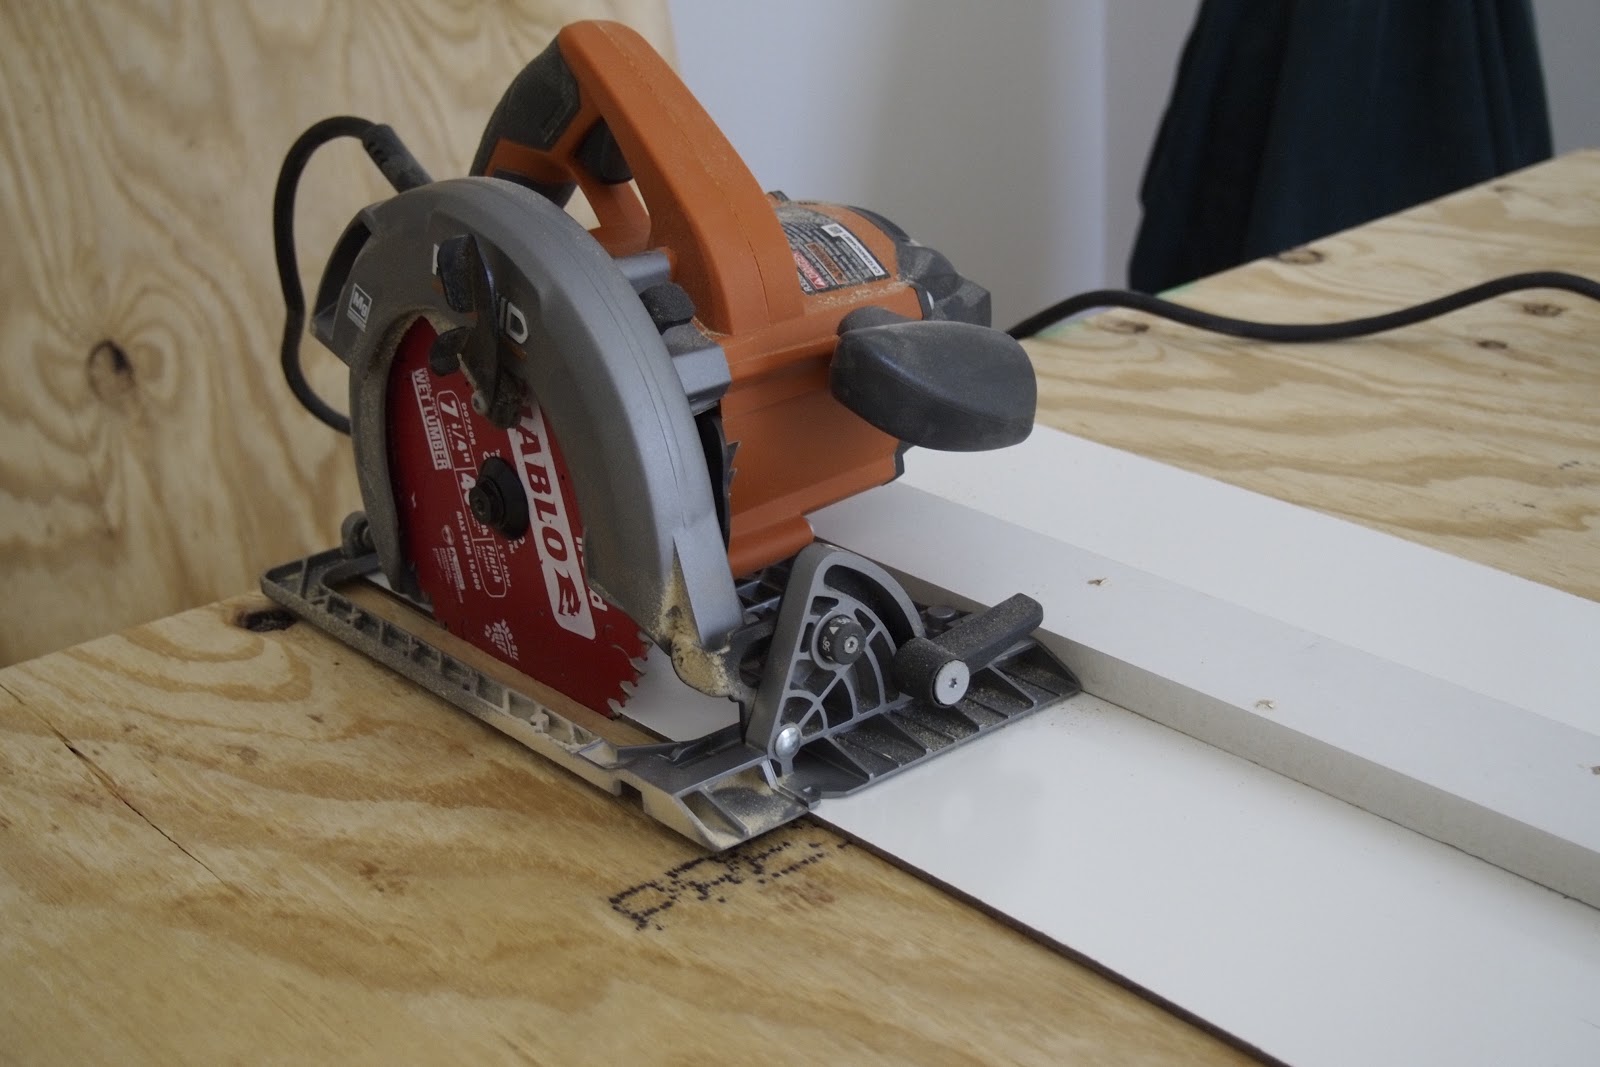 |
| This RIDGID 32022 has been a wonderful tool to use so far $100 at the big box stores |
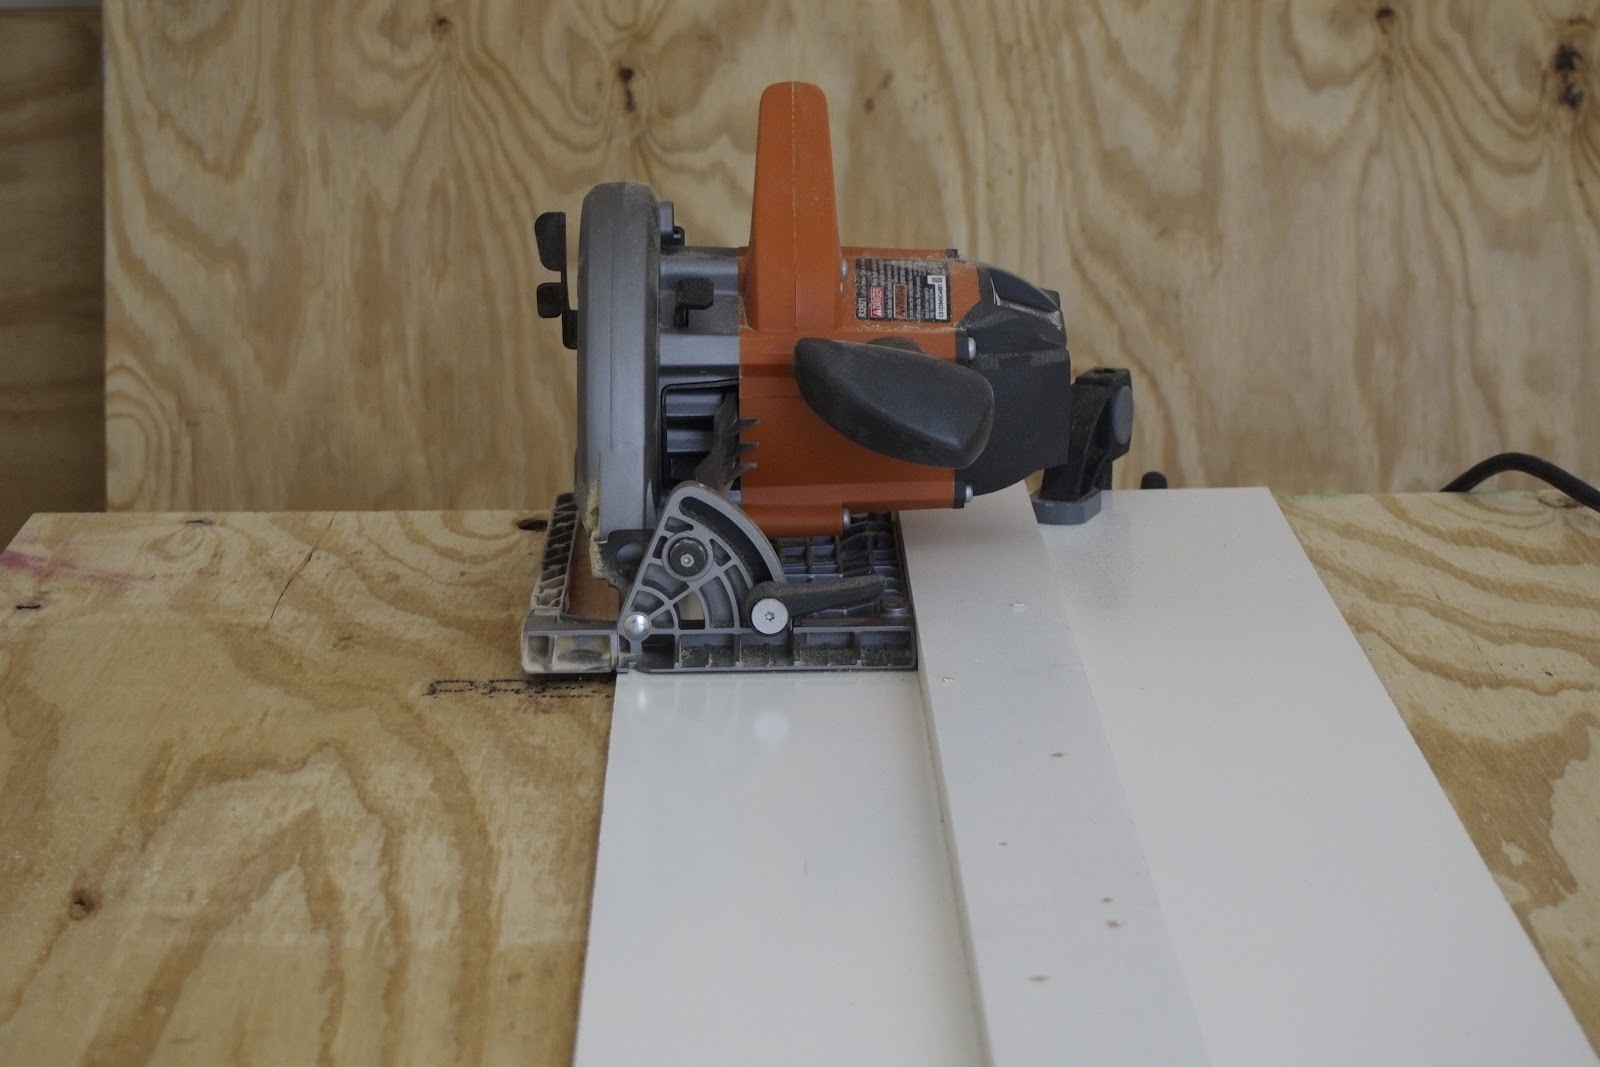 |
| I made the rip fence jig above (the white parts) with MDF, and trimmed it with the actual saw I would use for ripping the plywood panels. This makes the edge of the jig the EXACT edge of the saw cut as well, in order to make exacting cuts in the sanded grade plywood($$). |
Wouldn't calculating 20mm be easier?
Anyways, after procuring an actual 23/32nds straight bit, I was ready to begin routing dado's into the stiles I cut to accept the shelving
 |
| Closeup of the Dado action with the router |
 |
| No, I didn't freehand the router, I used the necessary router fence for a guide Its just not shown here. |
 |
| The resulting routed Dado |
 |
| Here's a shelf placed in the Dado - nice, tight fit. She's not going anywhere |
This has the unintended consequence of driving us absolutely batty with the math, as once these are built, there will be no adjustability. We eventually decided to place a varying amount of widths throughout the project to accommodate just about any book, DVD, CD we could throw at it - with some spaces being 14in, or 12, or 10, or 9.
On one short wall, we decided to limit those cases to only 3.5 feet tall, and to top it with some sort of countertop (oak?, slate?, marble? we just haven't decided)
 |
| Here's the first pedestal I built last week, with the stiles I've already ripped that will become the 18in deep cases on this side. We went so deep to accommodate an old library catalog cabinet that we will fit here for decor |
 |
| Here's the pedestal at right angles to the one above, with stud spacing marked on the floor so I'll know where they are later. |
Before I had started, and when the room was first emptied and swept clean, I had installed some "ram board" to protect the flooring. Glad I thought to do this, as I've ended up actually working in the room. Its "just" large enough if I'm careful, and keeps me from being outside where its cold and wet this time of year. After a few weeks of dropped tools, dragging finished bookcases around, and enduring clamps and glue-ups, its holding up well. And as you can see above, it also gives a convenient place to make measured markings for later reference.
 |
| Here you can see the first two short cases I've started to build, as well as the first "tower" that will start the bookcases on that other wall. |
 |
| Here, all three short cases are finished and permanently affixed to the wall Its now a great place to stage my tools off the floor. |
 |
| I've built in these hidden cleats into all the cases in order to screw them into the wall. Actually, I've already put one cleat in the wrong place so that it shows, but it wasn't worth rebuilding that whole case for... |
 |
| Here's the twin tower on the other side that will anchor this wall of cases Every wall in the room will get cases, and I'll build a window-seat beneath this window as well. Should be a great little reading spot. |
 |
| So this is where we are so far. The space between the two towers will be filled with four bookcases the same height - that's this weekend's to-do list... |
In a way, this IS a bit like motorcycling - do your research, plan well, be confident, be fearless, and most of its in your head anyways.
At my age, its nice to feel 14 yrs old again...Thanks!
ReplyDeleteVery impressive!
DeleteJennifer C.
Thanks Jen...
DeleteThis comment has been removed by the author.
ReplyDelete